Purpose – In this tutorial we would use Openfiler (iSCSI Storage) and export iSCSI storage to the clients, discover the storage on the clients and finally setup the multipath post discovery.
Sequence of activities
- Installing Openfiler on Oracle VM Virtual Box – Storage Server
- Creating Physical Volumes > Volume Groups & Logical Volumes to be exported to the clients
- iSCSI Setup which includes creating iSCSI Targets, Target Configuration, LUN Mapping and finally setting up the ACL
- Setting up the SCSI initiators or clients
- Network configuration
- iSCSI discovery
- Multipath configuration
- Installing Openfiler on Oracle VM Virtual Box – Storage Server
- Download the installer from http://sourceforge.net/projects/openfiler/files/openfiler-distribution-iso-2.99-x64/openfileresa-2.99.1-x86_64-disc1.iso/download?use_mirror=liquidtelecom
- Create a VM (I am using Oracle VM Virtual Box) 10 GB HD and 256 MB RAM
- Installation screens below

After all the probes the below screen appears


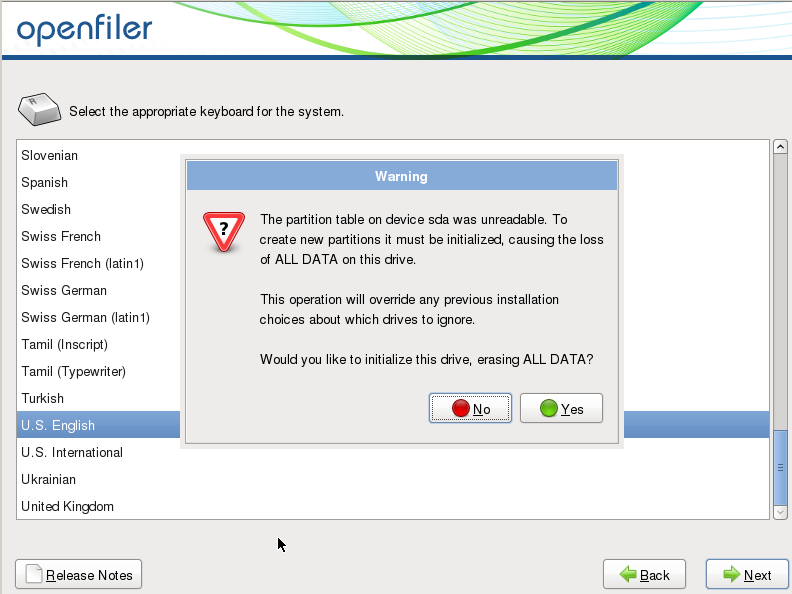
Say YES to the prompt


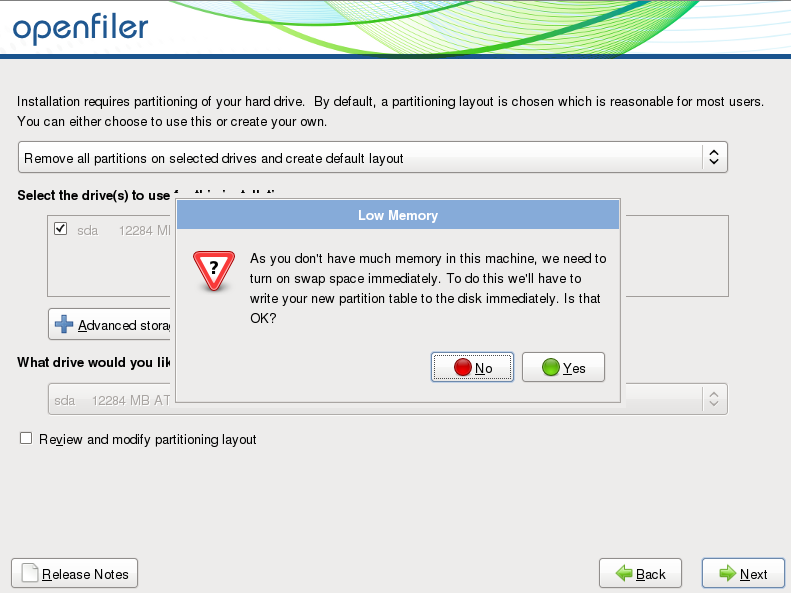
Say YES again
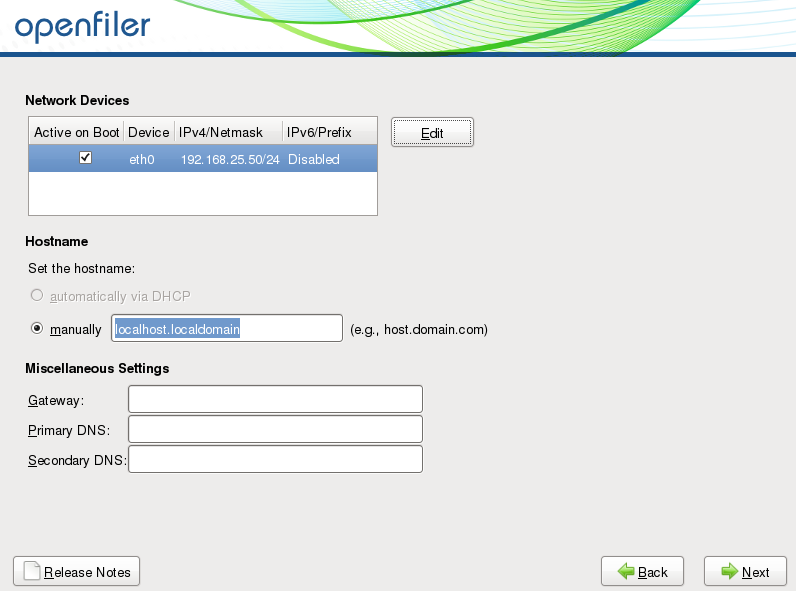
Manually configure the network on the next screen


Set root password in the next screen after selecting city in the above one


After rebooting

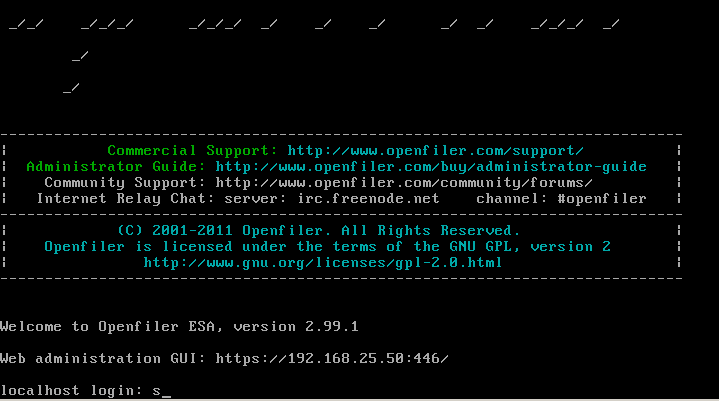
Web URL –
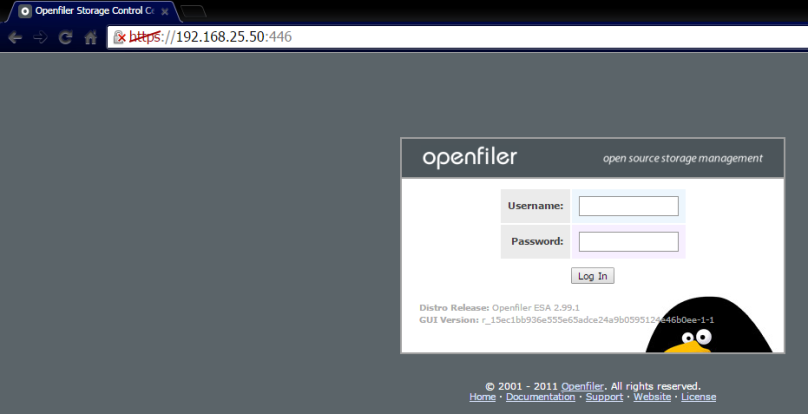
Enter the credentials – openfiler/password

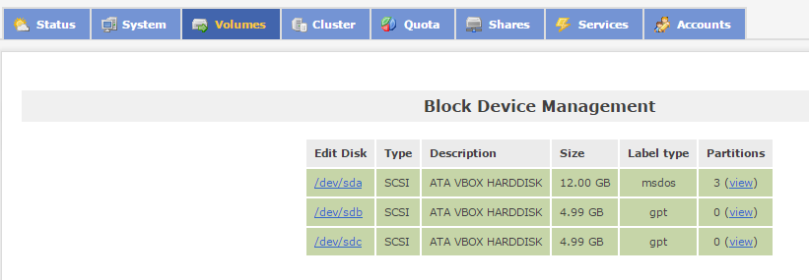
2. Creating Physical Volumes > Volume Groups & Logical Volumes to be exported to the clients
- Creating the Physical Volumes followed by Volume Group and Logical Volumes


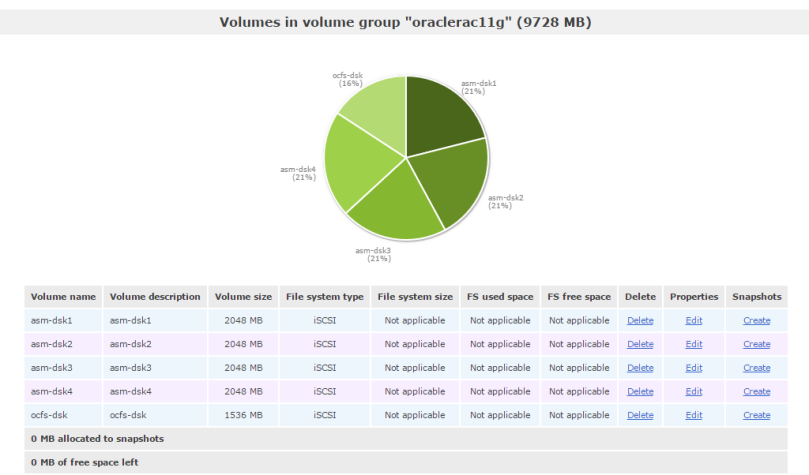
Create the ASM Volumes

3. iSCSI Setup which includes creating iSCSI Targets, Target Configuration, LUN Mapping and finally setting up the ACL
1. On the client(s) install isci initiator tools
[root@labpc2 ~]# rpm -qa | grep -i iscsi
iscsi-initiator-utils-6.2.0.872-41.0.1.el6.x86_64
2. Check the initiatorname and note it down, this needs to be entered in the openfiler setup
[root@labpc2 ~]# cat /etc/iscsi/initiatorname.iscsi
InitiatorName=iqn.1988-12.com.oracle:61c8f92adcdb
3. Now we’ll configure the initiatorname on the iSCSI server as iSCSI target, enter the above initiator name in the target below and click Add

4. Next click on LUN mapping and map all the LUNs for this target

5. Next click on the Network ACL and allow access of these LUNs to the clients

4. Setting up the SCSI initiators or clients
- Network configuration
My Setup has got two clients and the setup looks like this

My storage box and the clients are on different networks and i’ve configured additional IPs on each of the clients to have all 3 in the same network. Apart from this IP routing must be enabled (as i’ve configured the different network IPs on different eth cards, without this it won’t work)


2. iSCSI discovery on the clients

Now reboot both the client nodes for LUNs to be discovered (no real need but multipath may not work otherwise),see the disks are discovered successfully
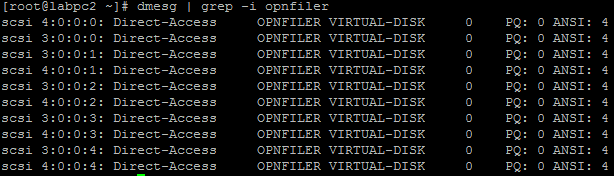
you can also see the disks as shown below

3. Multipath configurations
Ensure Multipath software has been configured and enabled


mpathconf –enable command loads the dm_multipath module, creates the default /etc/multipath.conf file and starts the multipathd daemon.
Run multipath / multipath -ll (this should automatically discover the LUNs and create default mappings mpatha etc in /dev/mapper/ directory)

/etc/multipath/bindings file shows the automated discovery results

Now edit /etc/multipath.conf and give some meaningful names to the disks (this also means you’ll have to use the bindings file to do the mapping of WWIDs to alias names)

Finally run multipath -ll to check the changes have reflected successfully along with checking the mapping in /dev/mapper directory as well


That’s all folks, this completes the tutorial – We’ve successfully managed to create a storage server on the virtual world and exported the same using iSCSI technology. This is the closest to what you can get in a virtual world without worrying about actual storage arrays and cabling to the servers :). Hope this helps somebody out there. Feel free to post questions if there are any. Thanks
Amit Shil
Fascinated by Open Source & Linux
Created with the Personal Edition of HelpNDoc: Full-featured Help generator
